How to Reglaze a Window
Feeling drafts or seeing crumbling glazing on your windows? It’s time to consider reglazing—a DIY project that improves insulation and appearance. This guide simplifies window reglazing, making it an achievable weekend task.
Before you start
Reglazing is effective for improving window insulation, appearance, and functionality. It requires DIY skills. If you’re unsure about the process or have complex window types, it’s wise to consult your local glazier.
- Glazing Compound
- Stiff-bladed Putty Knife
- Glazier’s Points
- Heat Gun or Blow Dryer
- Glass Cleaner
- Sandpaper
- Linseed Oil
- Rags and Protective Gloves
- Wear gloves and safety glasses.
- Work in a well-ventilated area.
- Handle glass carefully to avoid breakage.
- If your home predates 1978 and may have lead-based glazing, take precautions to minimize dust and clean up thoroughly.
Step 1: Removing Old Glazing
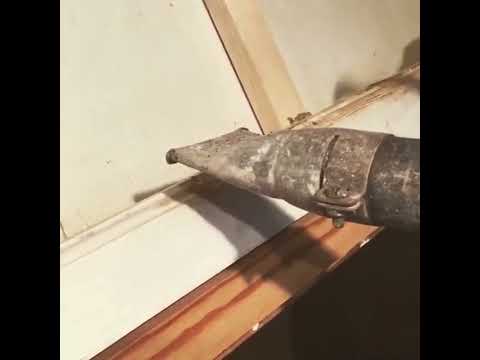
Soften and Remove Glazing
- Gently heat the old glazing with a heat gun or blow dryer.
- Use a putty knife to pry away the softened compound.
Remove Glazier’s Points
- Locate and carefully remove glazier’s points with the putty knife or pliers.
- Support the glass to prevent it from breaking.
Clean Frame and Glass
- Scrape off any remaining glazing residue.
- Wipe down with a damp cloth for clean adhesion surfaces.
Step 2: Preparing the Window Frame

Sand the Frame
- Lightly sand the frame for a smooth surface.
Apply Linseed Oil
- Coat the sanded frame lightly with linseed oil to condition the wood.
Check Glass and Frame
- Ensure the glass is securely seated and free of damage.
Step 3: Applying the New Glazing
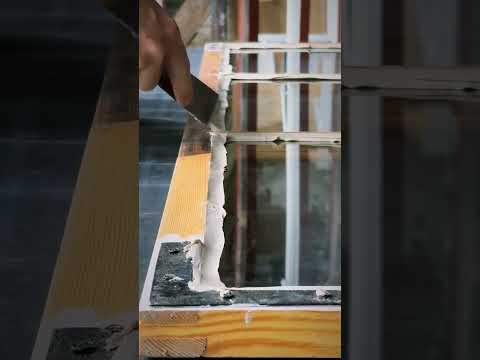
Prepare Glazing Compound
- Knead until pliable and smooth.
Apply the Glazing Compound
- Roll into a rope shape, press into the frame-glass groove evenly.
Smooth the Glaze
- Use a putty knife at a 45-degree angle for a clean seal.
- Remove excess glaze.
Let the Glaze Cure
- Follow the manufacturer’s instructions for curing time, avoiding disturbance.
Step 4: Finishing Touches and Cleanup
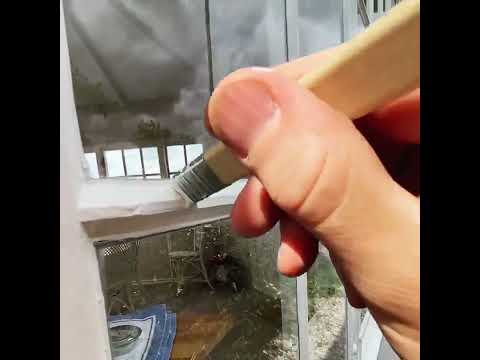
Paint the Glaze
- After curing, paint the glaze to match the window frame.
Clean the Glass
- Clean gently, especially near the glaze.
Dispose of Old Materials
- Dispose of materials properly, especially if lead-based.
Assess Your Work
- Check for gaps or unevenness in the seal.
Expert Tip
Proper maintenance and care will ensure the longevity and performance of your windows
- Regular Checks: Inspect your reglazed windows annually for cracks in the glazing compound or signs of wear. Early detection prevents bigger problems.
- Cleaning: Clean windows regularly, but be gentle around the glazing. Avoid harsh chemicals or abrasive tools that could damage the compound.
- Reapplication: Over time, even the best glazing compound deteriorates. Reapply glazing every 5-7 years to maintain window integrity and performance.
By following these steps, you will enhance your window’s performance and appearance. This DIY project is not only a valuable addition to your home but also a rewarding experience.

Phillip Sharp has spent more than three decades honing his skills as a glazier in Sydney. He is currently employed at Splendid Window Glass Repairs, where he specializes in glass replacement and repair in the Sydney Eastern Suburbs area. With his wealth of experience and commitment to excellent craftsmanship, Phillip is highly respected in the industry and trusted by clients to provide top-quality work.